The sights and sounds of summer . . .
To start, why not put some sounds in your ears while you read over this post? Below is a compilation of various recordings I made (on my camera, so not brilliant quality) during June. Originally, I intended to do a recording every day for 30 Days Wild, but didn't manage it. Speaking of 30 Days Wild, it was fantastic to get my pack from the Wildlife Trusts, featuring cards with pictures that I drew! It was very exciting to have my art going out to thousands of people. I talked about the process of creating the cards here.
|
|
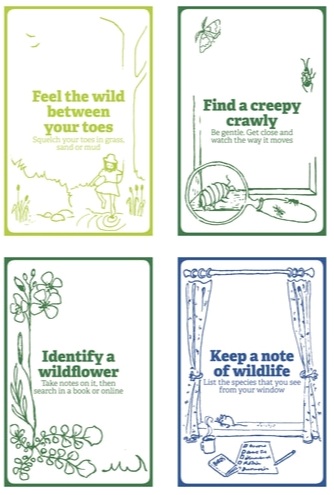
30 Days Wild card designs featuring my sketches.
|
So, back to our activites in June. We paid a visit to London for a family wedding at the start of the month and enjoyed some green spaces in the city.
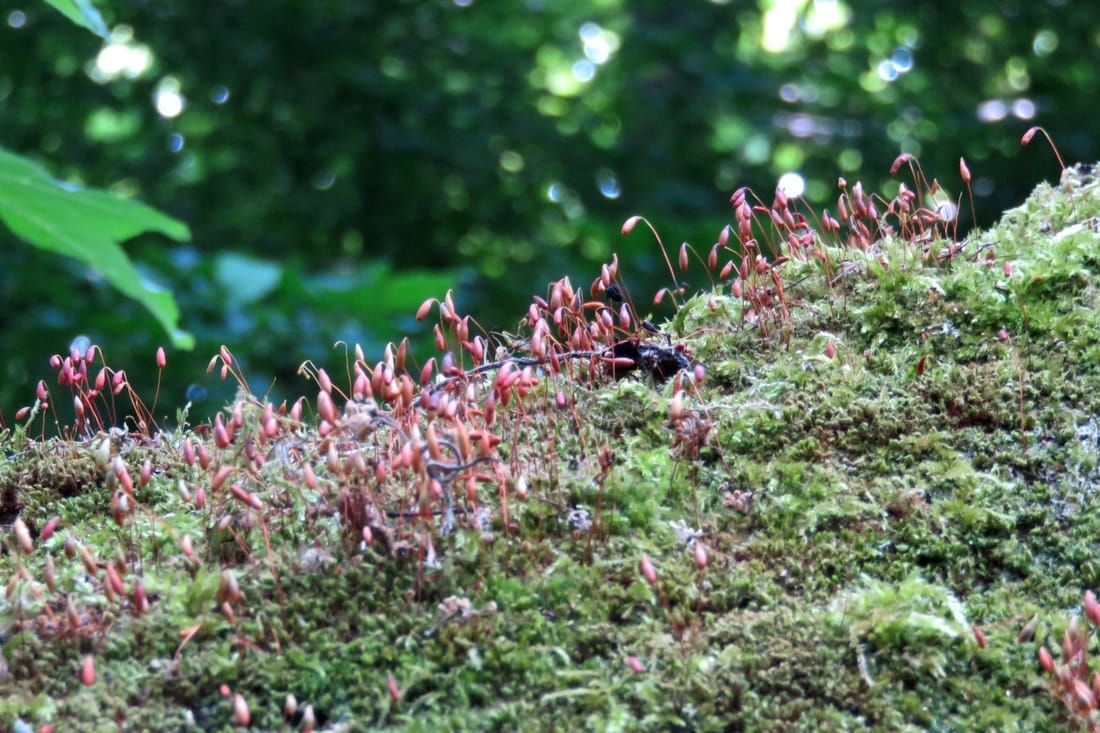
Moss in Mill Hill.
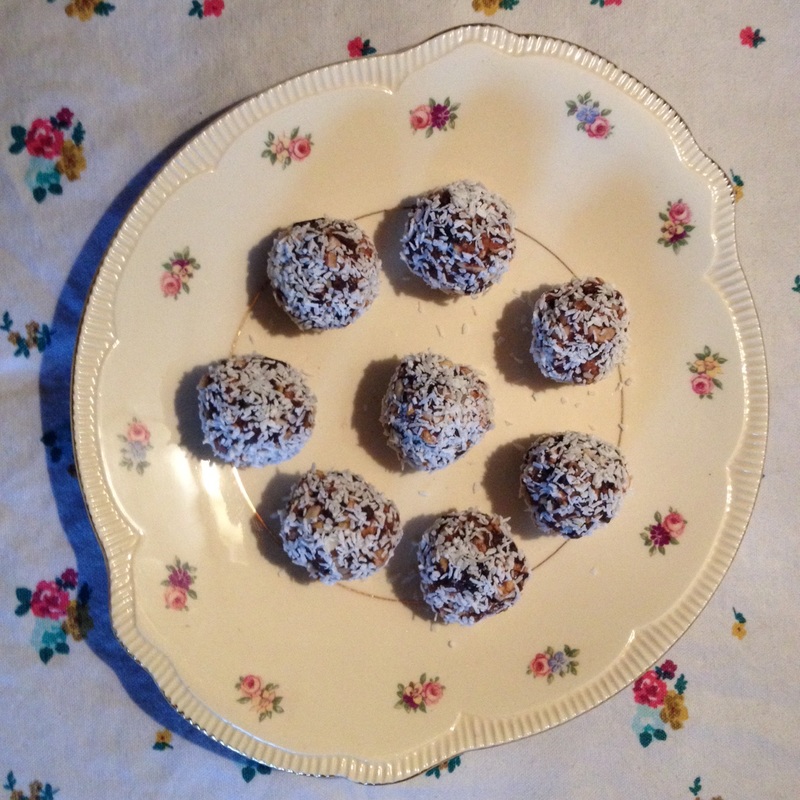
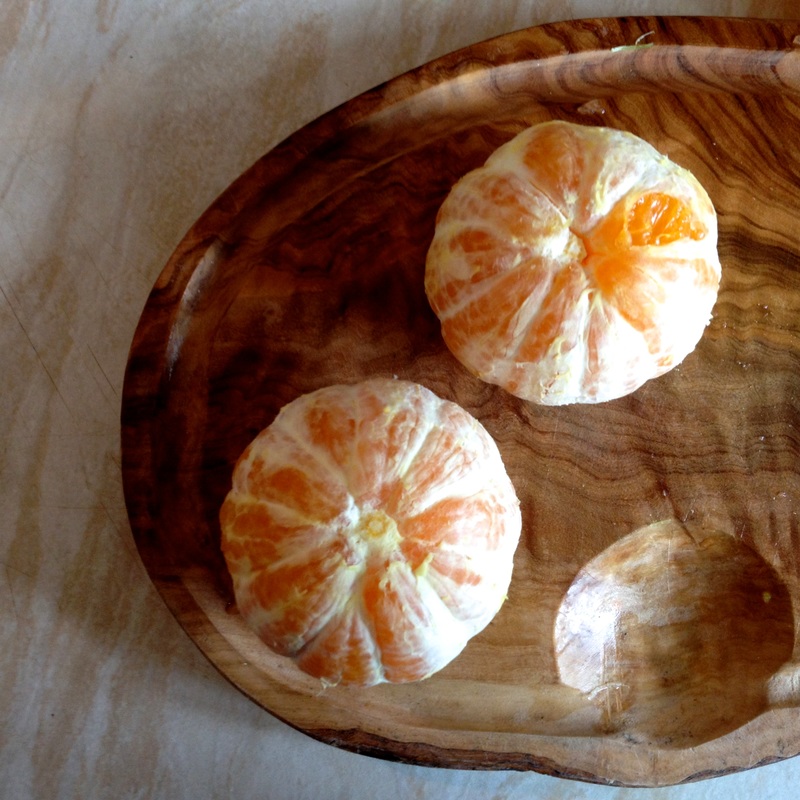
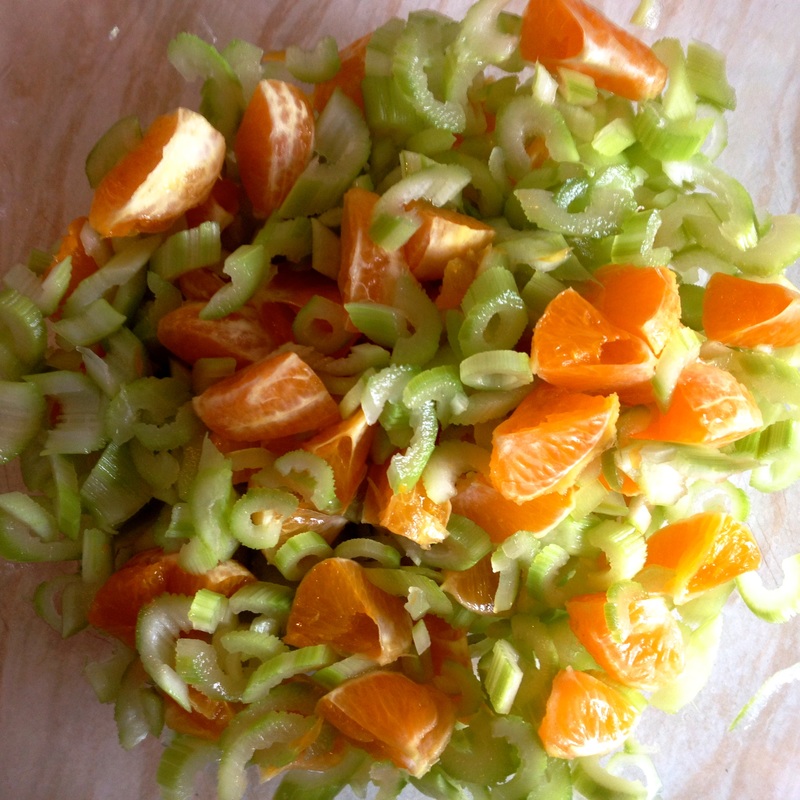
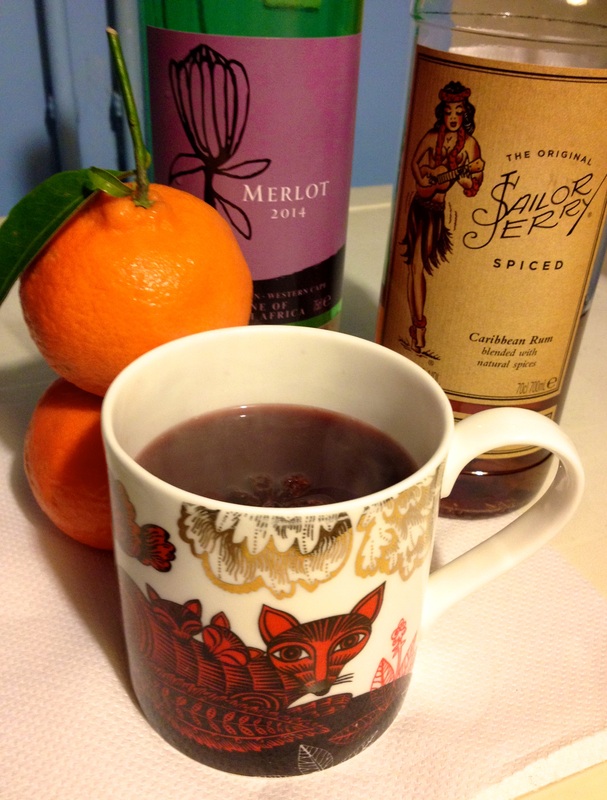
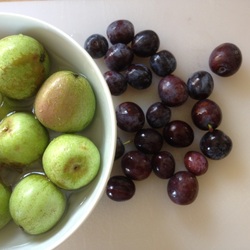
The wedding cakes were a sight to behold. All the fruit and flowers inspired me to try something I'd been meaning to get around to for the last few years: cooking with elderflowers. I foraged a couple of flower heads and made them into pikelets (sweet little pancakes), which worked quite nicely.
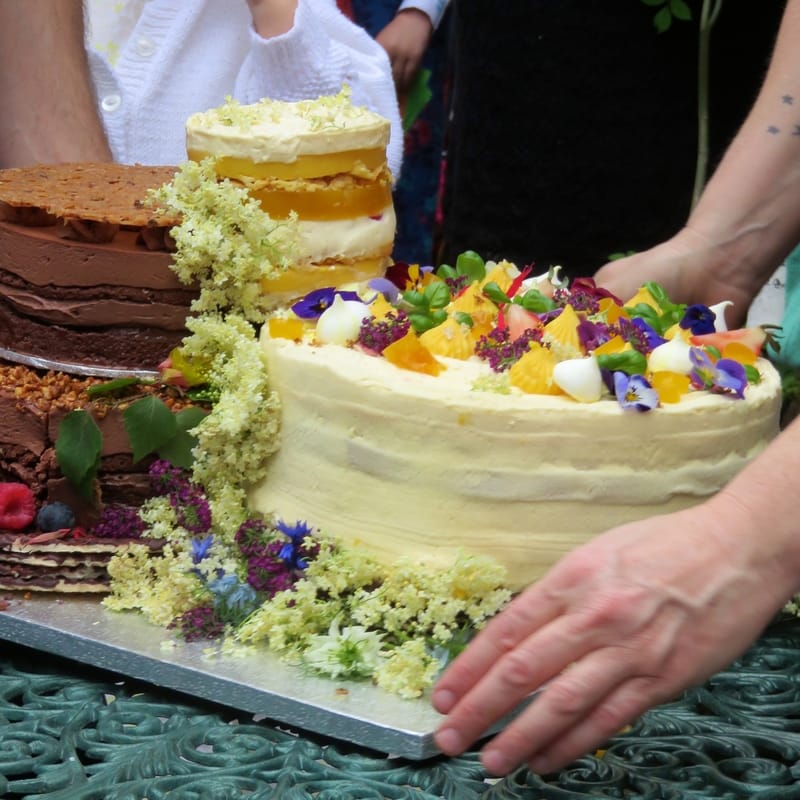
Wedding cakes.
|
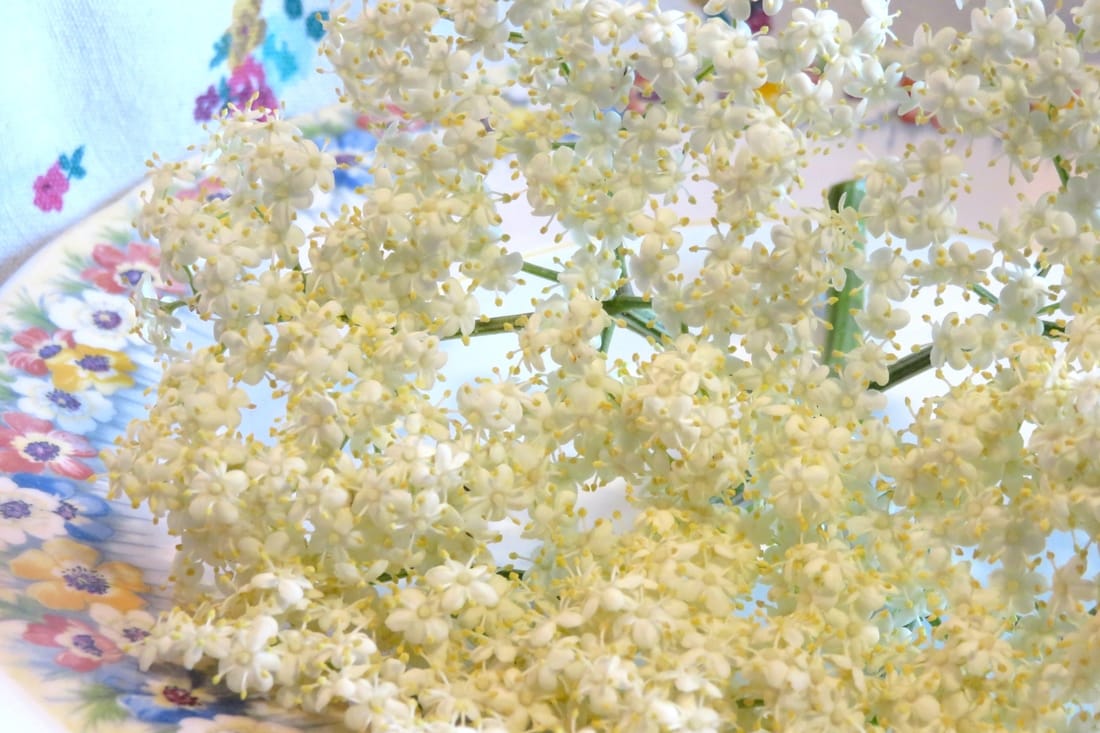
Elderflower.
|
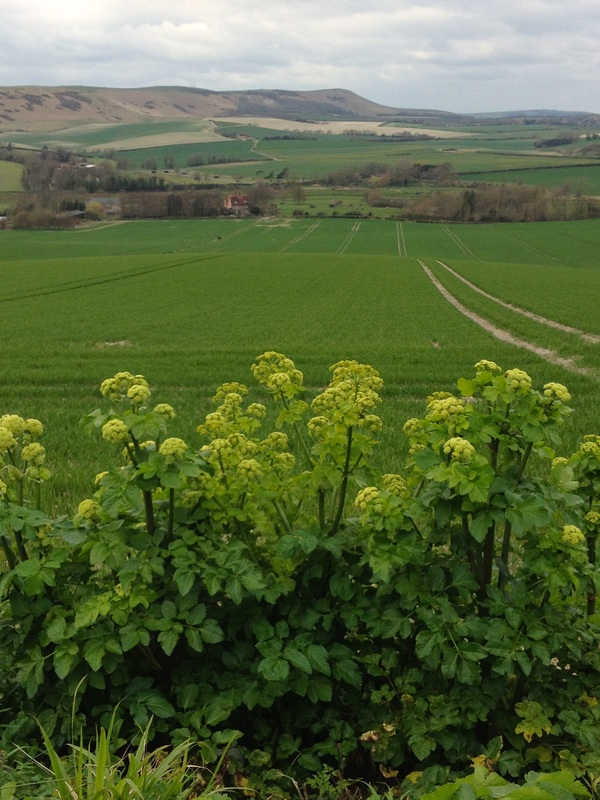
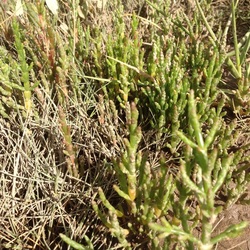
It's hard to fit in outdoors time around a full time job with a 1-2 hour commute each way, so we decided to start a little tradition of going on a walk on the way home at least once a week. We chose Arlington Reservoir, because it's a one hour circular walk on an easy trail, with a variety of stuff to look at: the water and waterbirds, a bit of woodland, views of the South Downs, animals, buildings, fields. It was satisfying to watch the evolution of the micro-ecosystem that is the reservoir wall over the course of the summer and autumn, until it got too dark to walk any more.
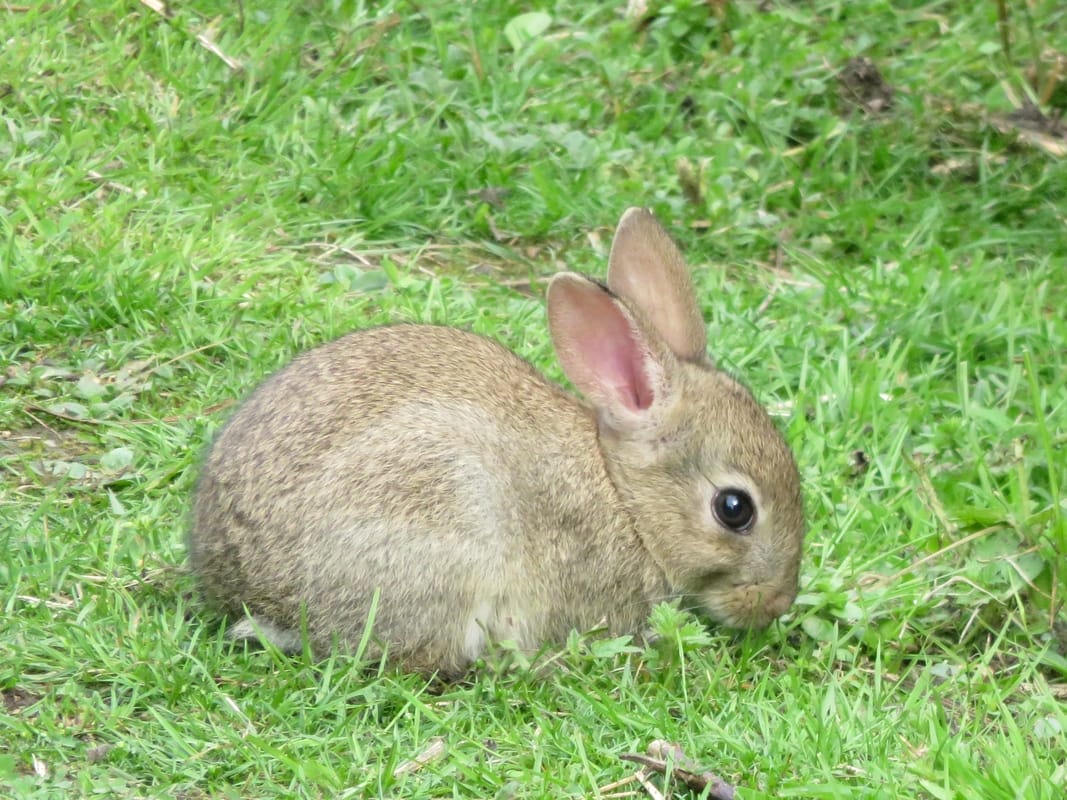
The cutest bun I ever saw.
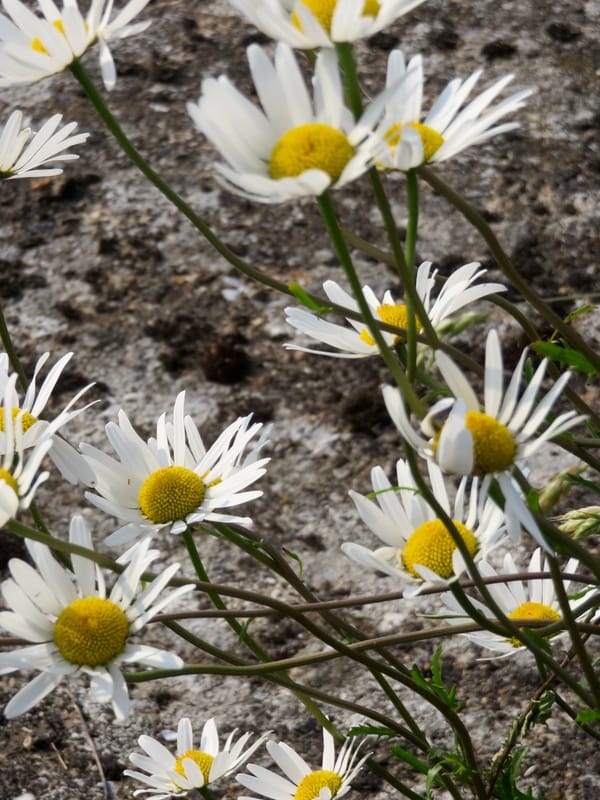
Daisies on the reservoir wall.
|
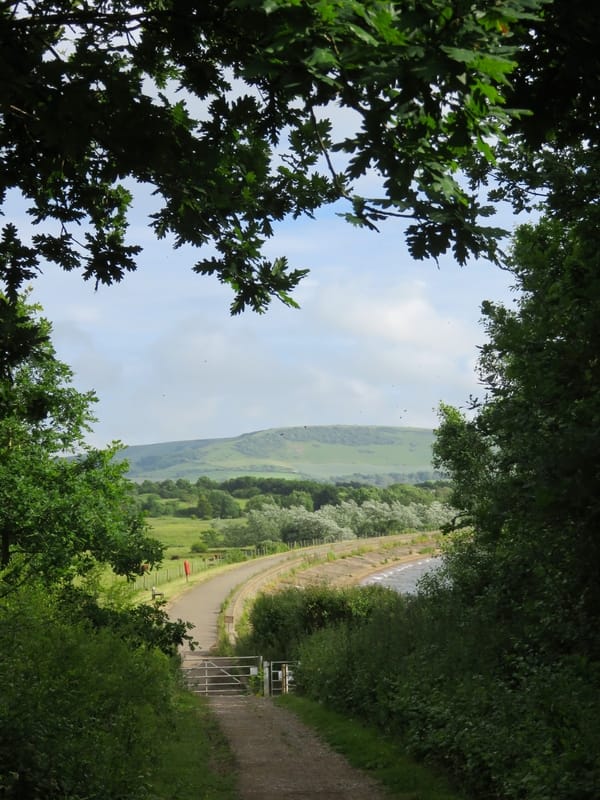
Arlington Reservoir with the South Downs in the background.
|
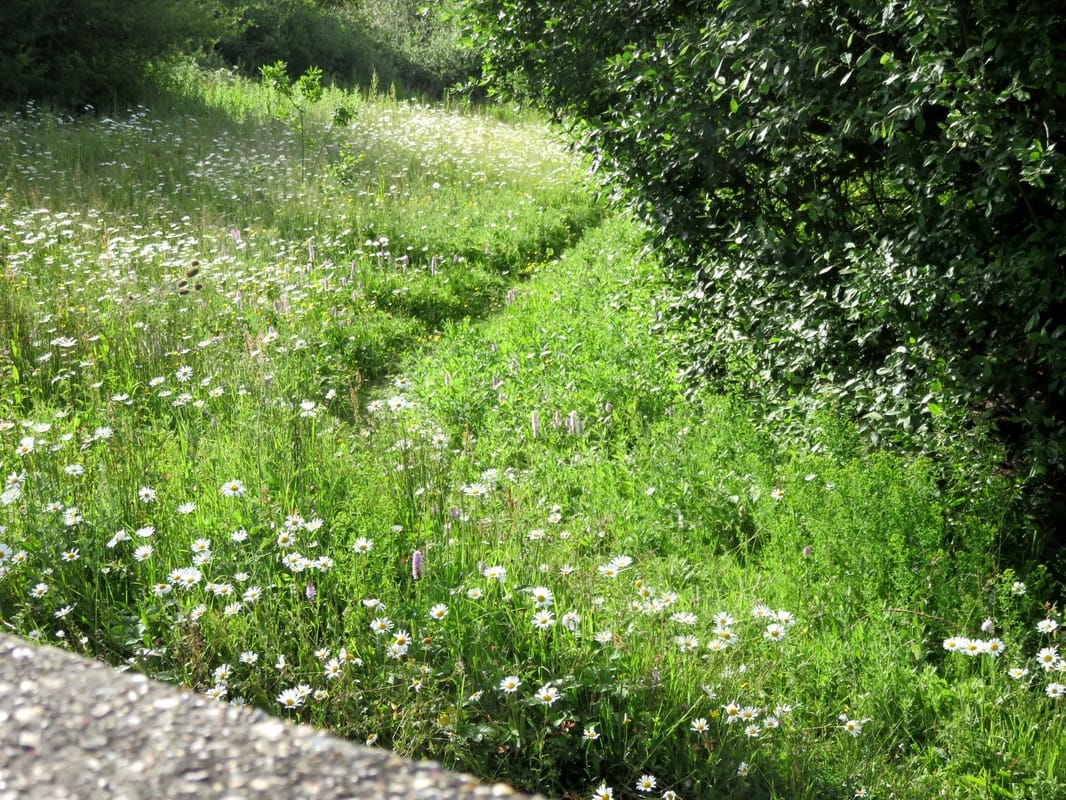
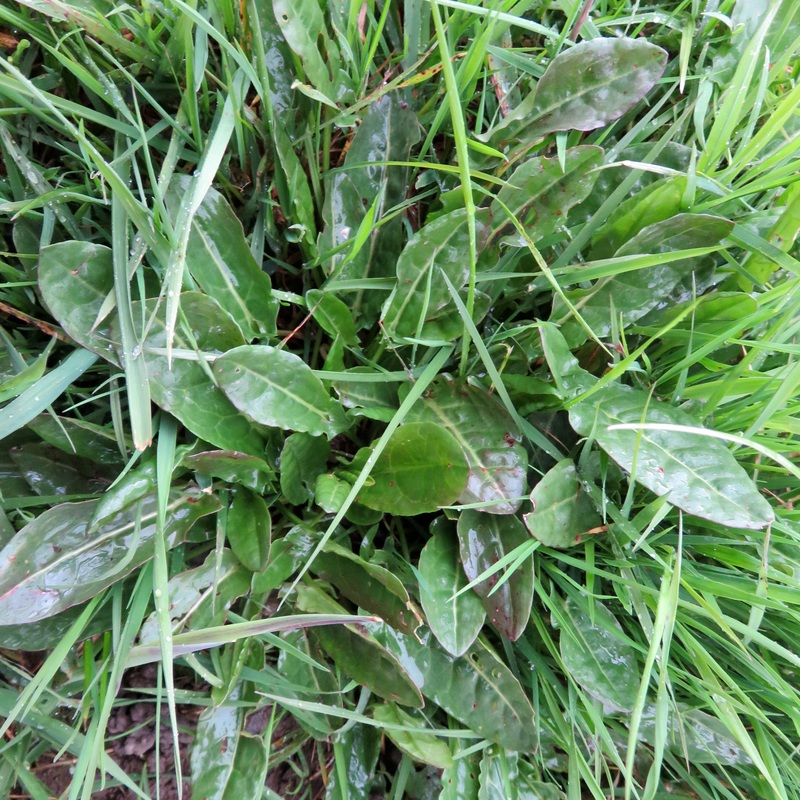
Wildflowers beside the path.
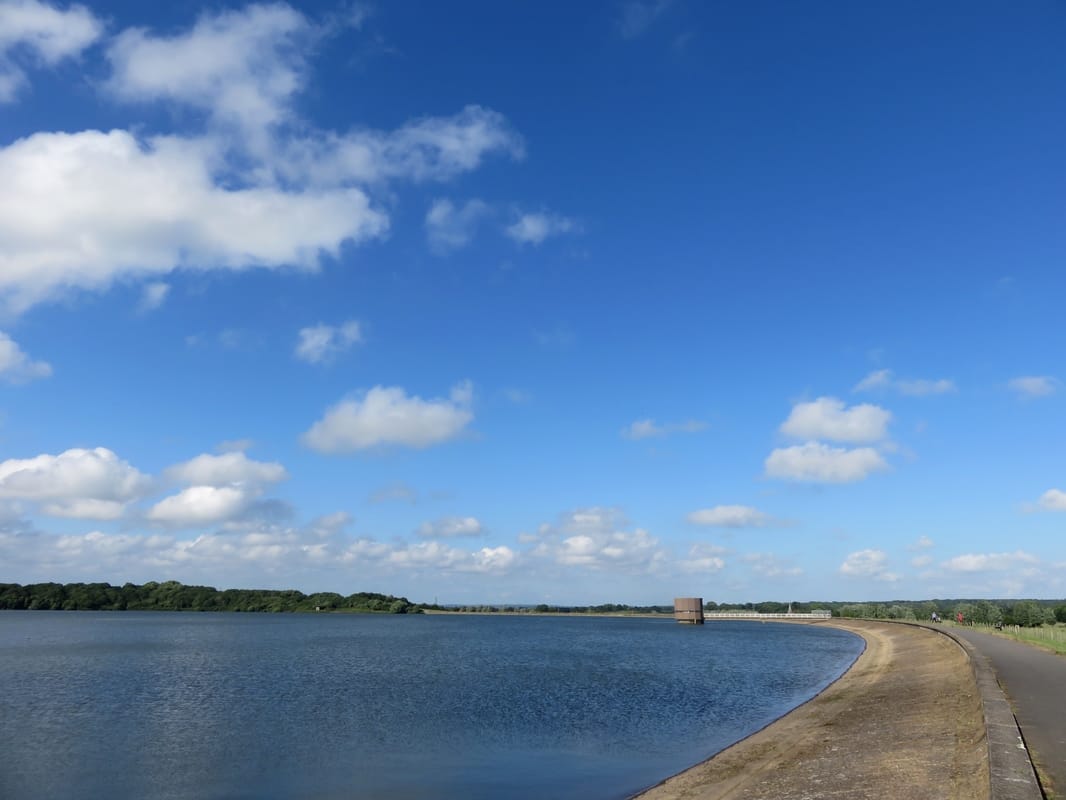
Arlington Reservoir - the path goes along the long curve of the wall.
There was a gorgeous Chicken of the Woods fungus growing on Battle High Street, of all places. I didn't want to take it, as it looked so lovely and colourful. Somebody else didn't have any such qualms - it had been cut down when we next went past, a couple of days after I took this photo. (I later heard it was a friend of a neighbour, who presented it to a family member for their birthday!)
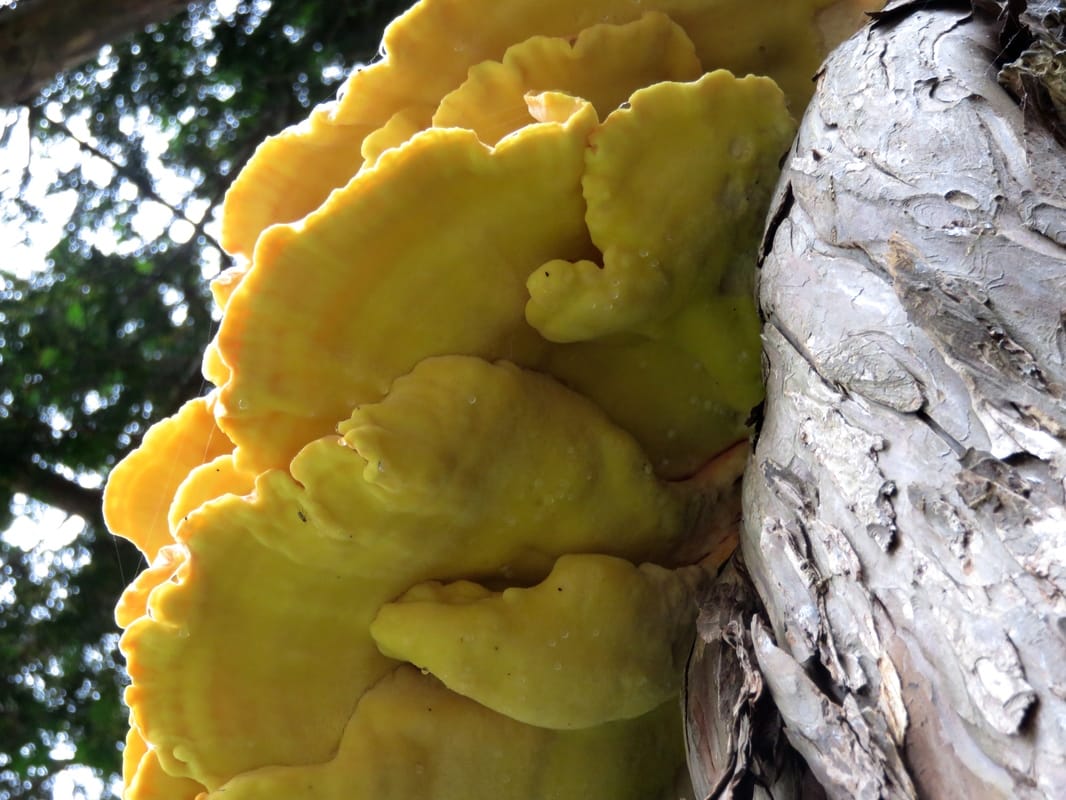
Chicken of the Woods (I think) growing in Battle High Street.
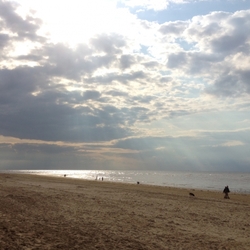
We had an amazing microadventure on the South Downs with probably the most beautiful scenery I saw this year. The HRRA walk this month was also on the South Downs, which meant even more fabulous views!
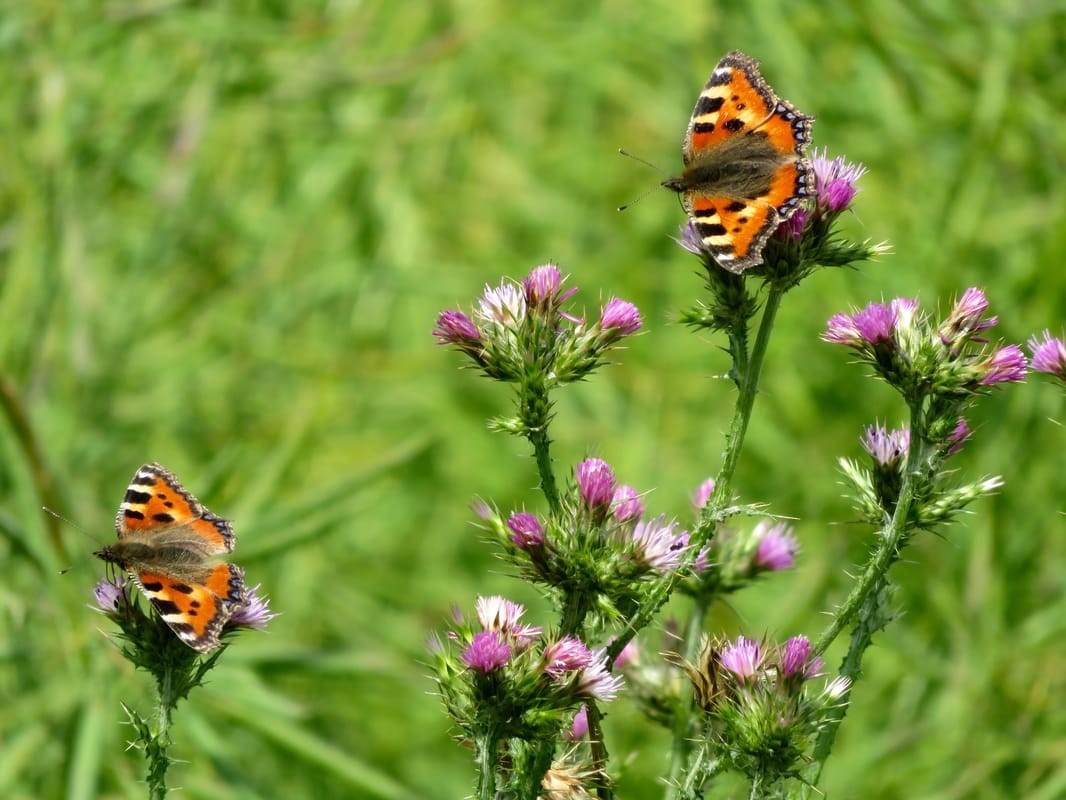
Small tortoiseshell butterflies, which have suffered a population decline, especially in the south of the UK.

Looking down the undulating flanks of the South Downs.
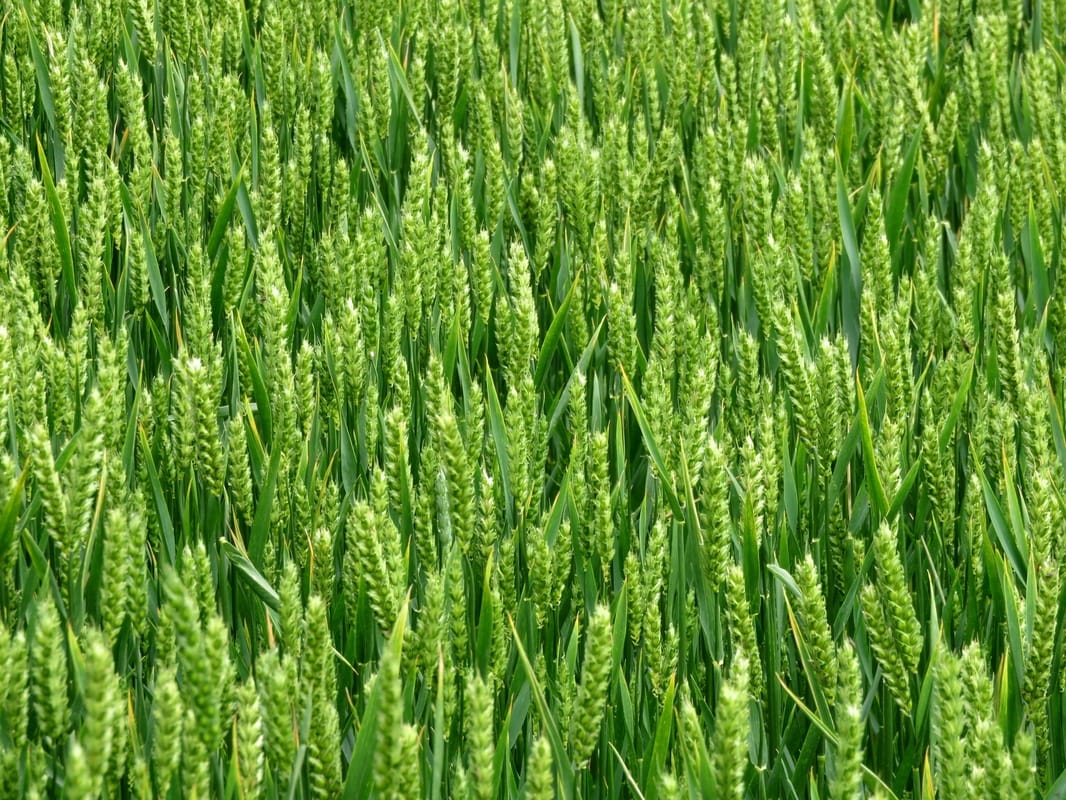
It's always lovely to see a field of wheat or barley nodding in the wind.
And at the end of the month we went Champing for the first time. Despite quite a grey and drizzly month overall, we did manage to make the most of it.


 RSS Feed
